


John Gravett shows us how to get the best possible results “in camera” without having to correct it later.
It always amazes me the number of people who say, “Oh, I can sort it out in Photoshop”.
You shouldn’t need to. There are a few simple steps anyone can take to ensure you get the best possible results using a digital camera, without having to spend a lot of time correcting it later.
But first, let’s dispel the romance of digital photography.
The digital camera does not take photos; it records data, and the better the data you capture, the better quality image you will end up with. Knowing what you’re working with can help you in the field.
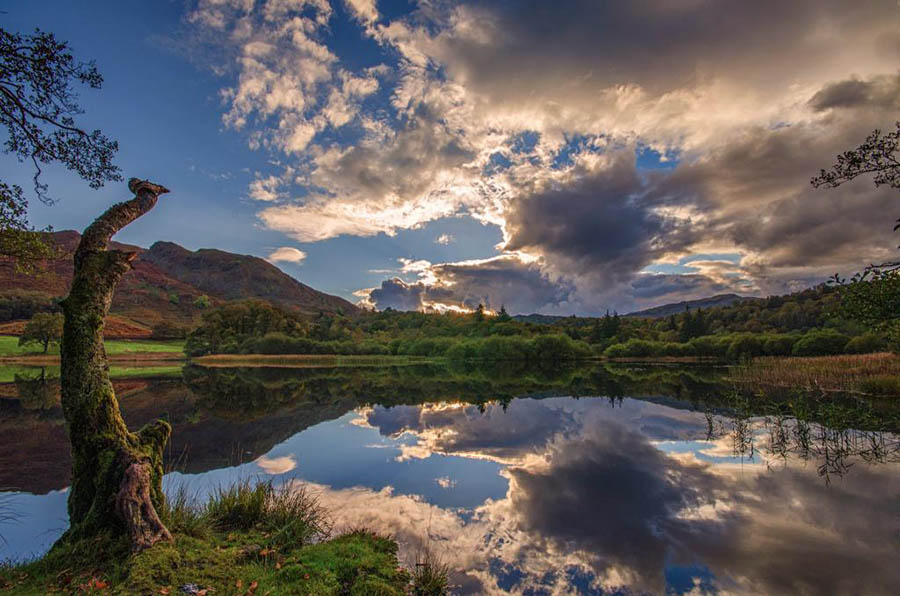
In terms of getting colours right, I’m really not a fan of auto white balance (AWB). It tries to average every shot into equal proportions of red, green and blue. In a green landscape it adds blue, cooling down the image. In a sunset, it reduces the amount of red, and increases the blue and green channels, giving a more insipid feel to the colours.
I know shooting RAW these colours can all be corrected in Photoshop, but I’d far sooner spend more time in the field photographing, and less time sitting in front of the computer correcting it.
Set the appropriate white balance (daylight, cloudy, etc) in camera at the time of shooting, or use a preset or custom white balance if the lighting is tricky. By doing this, you are already at, or at least close to, the correct white balance and even your thumbnails will be closer to the colours you perceived. Don’t think that you must underexpose your photos when shooting to “intensify the colours”. Across the histogram, the further you can push your tones to the right, the more data you end up with (don’t blow the highlights in doing this).
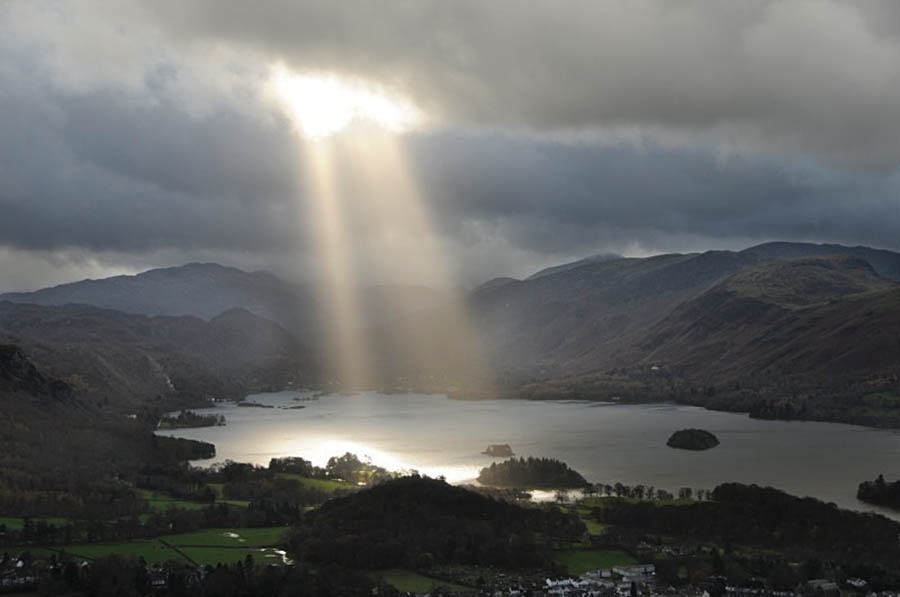
Try taking two shots a stop apart. So long as your highlight detail is retained in both pictures, the lighter shot will almost always be a larger file size and so better quality.
Moreover, the lighter photo will have much better detail retained in the shadows, and whilst the picture might look pale, a slight tweak of the mid-tones in levels will bring richness back to the colours of the picture, without losing shadow tones. The less you have to lighten shadows, the better, as the dark tones contain the lowest amount of data and lightening them creates noise.
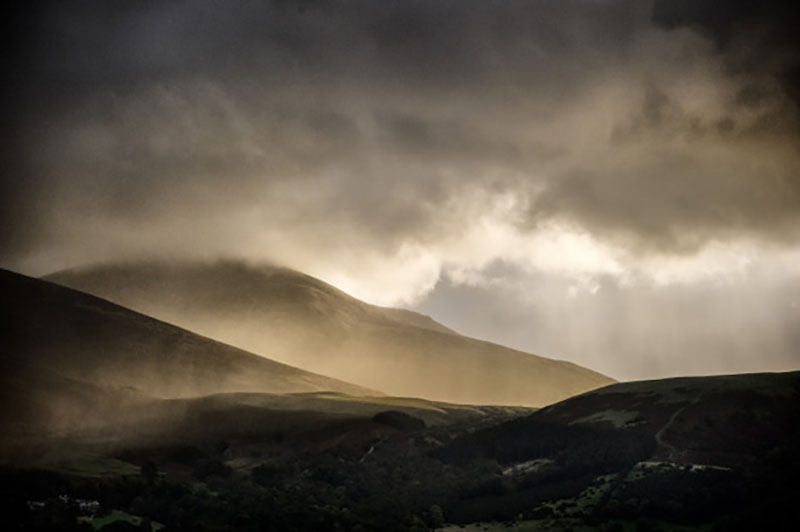
If a graduated neutral density filter can improve your picture (in terms of data), use one. Don’t wait to add a grad in Photoshop or Lightroom. Without a grad, the ground is often very dark, meaning it needs severe lightening in post-processing (again causing noise). Use of the grad in the field not only prevents skies from blowing out, it can also result in the ground being recorded with much more inherent detail.
Don’t rely on cloning out either – move things you don’t want in the fi eld. It means looking much harder round the edge of the picture before firing the shutter, being more careful with the composition.
When we shot film, we were careful to exclude what we didn’t want from the photograph. Many photographers now end up cropping a shot, not just to change the format shape, but to recompose the picture. You need to maximise the data you have in any picture to give you the best print quality. So, try getting it right in the camera, and see if your quality improves.
John Gravett is a professional photographer with over 30 years experience and one of the most respected photographic tutors in the country. Together with his wife, Gail, he has owned and operated Lakeland Photographic Holidays since 1999. Between them they have welcomed around 350 photographers annually on their workshops both in the Lake District and in overseas destinations.
© Better „in camera” by John Gravett