


Outdor lighting
As a photographer, you work with light to produce quality pictures. The color, direction, quantity, and quality of the light you use determines how your subjects appear. In the studio, with artificial light sources, you can precisely control these four effects; however, most of the pictures you make are taken outdoors.
Daylight and sunlight are not a constant source, because they change hourly and with the weather, season, location, and latitude. This changing daylight can alter the apparent shapes, colors, tones, and forms of a scene.
The color of sunlight changes most rapidly at the extreme ends of the day. Strong color changes also occur during storms, haze, or mist and on blue wintery days. The direction of light changes as the sun moves across the sky. The shape and direction of shadows are altered, and the different directions of sunlight greatly affect the appearance of a scene.
The quality of sunlight depends on its strength and direction. Strong, direct sunlight is “hard” because it produces dark, well-defined shadows and brilliant highlights, with strong modeling of form. Sunlight is hardest on clear summer days at noon. Strong sunlight makes strong colors more brilliant, but weak colors pale. Sunlight is diffused by haze, mist, and pollution in the air.
This diffused or reflected light is softer; it produces weak, soft shadows and dull highlights. Directionless, diffused sunlight is often called “flat” lighting because it produces fine detail but subdues or flattens form. Weak, directionless sunlight provides vibrant, well-saturated colors.
Frontlighting
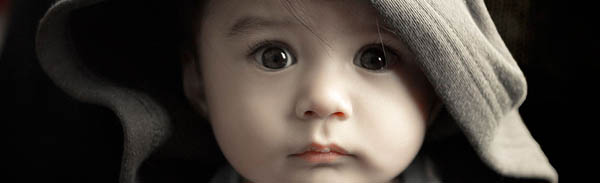
The old adage about keeping the sun at your back is a good place to continue our discussion of outdoor lighting. The type of lighting created when the sun is in back of the photographer is called frontlighting.
This over-the-shoulder lighting was probably the first photographic advice you ever received. This may seem to be a universal recipe for good photography. But it is not. The case against over-the-shoulder lighting is it produces a flattened effect, doing nothing to bring out detail or provide an impression of depth.
The human eye sees in three dimensions and can compensate for poor lighting. A photograph is only two-dimensional; therefore, to give an impression of form, depth, and texture to the subject, you should ideally have the light come from the side or at least at an angle.
Side Lighting
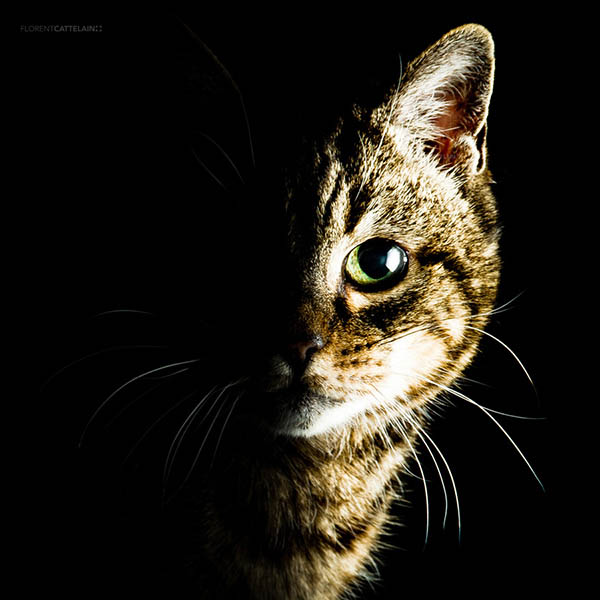
As you gain experience with various types of outdoor lighting, you discover that interesting effects can be achieved by changing the angle of the light falling on your subject. As you turn your subject, change the camera viewpoint, or wait for the sun to move, the light falls more on one side, and more shadows are cast on the opposite side of the subject. For pictures in which rendering texture is important, side lighting is ideal.
Side lighting is particularly important with black-and- white photography that relies on gray tones, rather than color, to record the subject. Shadows caused by side lighting reveal details that can create striking pictures from ordinary objects that are otherwise hardly worth photographing in black and white.
Anything that has a noticeable texture-like the ripples of sand on a beach, for example-gains impact when lit from the side. Landscapes, buildings, people, all look better when sidelighted.
This applies to color photography as well. Color gives the viewer extra information about the subject that may make up for a lack of texture in frontlighting, but often the result is much better when lit from the side.
Pictures made with side lighting usually have harsh shadows and are contrasty. To lighten the shadows and reduce the contrast, you may want to use some type of reflector to direct additional skylight into the shadow areas or use fill-in flash, whichever is more convenient.
Backlighting
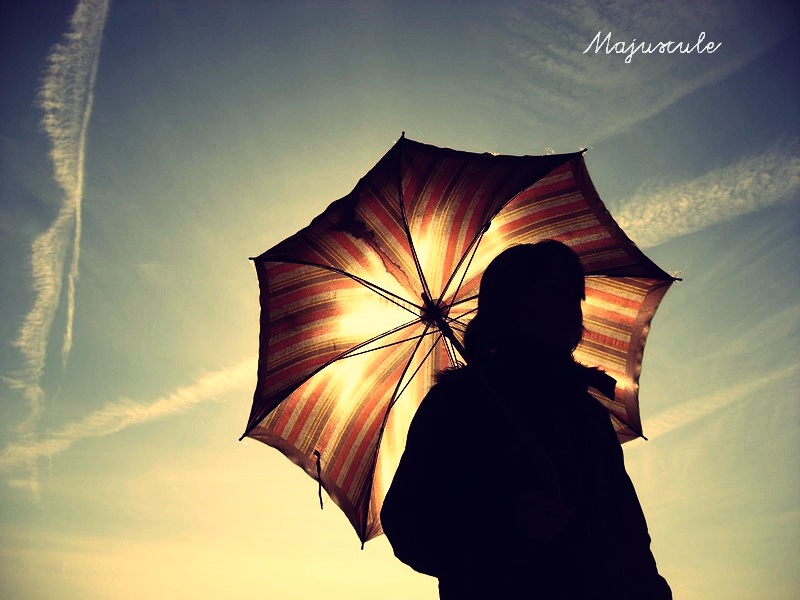
When the sun is in front of the photographer, coming directly at the camera, you have what is referred to as backlighting; that is, the subject is backlit. This type of lighting can be very effective for pictures of people outdoors in bright sunlight. In bright sunlight, when subjects are front-lighted or even sidelighted, they may be uncomfortable and squint their eyes.
Backlighting helps to eliminate this problem. Backlighting may also require the use of a reflector or fill-in flash to brighten up the dark shadows and improve subject detail. Backlighting is also used to produce a silhouette effect.
When you use backlighting, avoid having the sun rays fall directly on the lens (except for special effects). A lens hood or some other means of shading the lens should be used to prevent lens flare.
Public domain book (NAVY Training course)